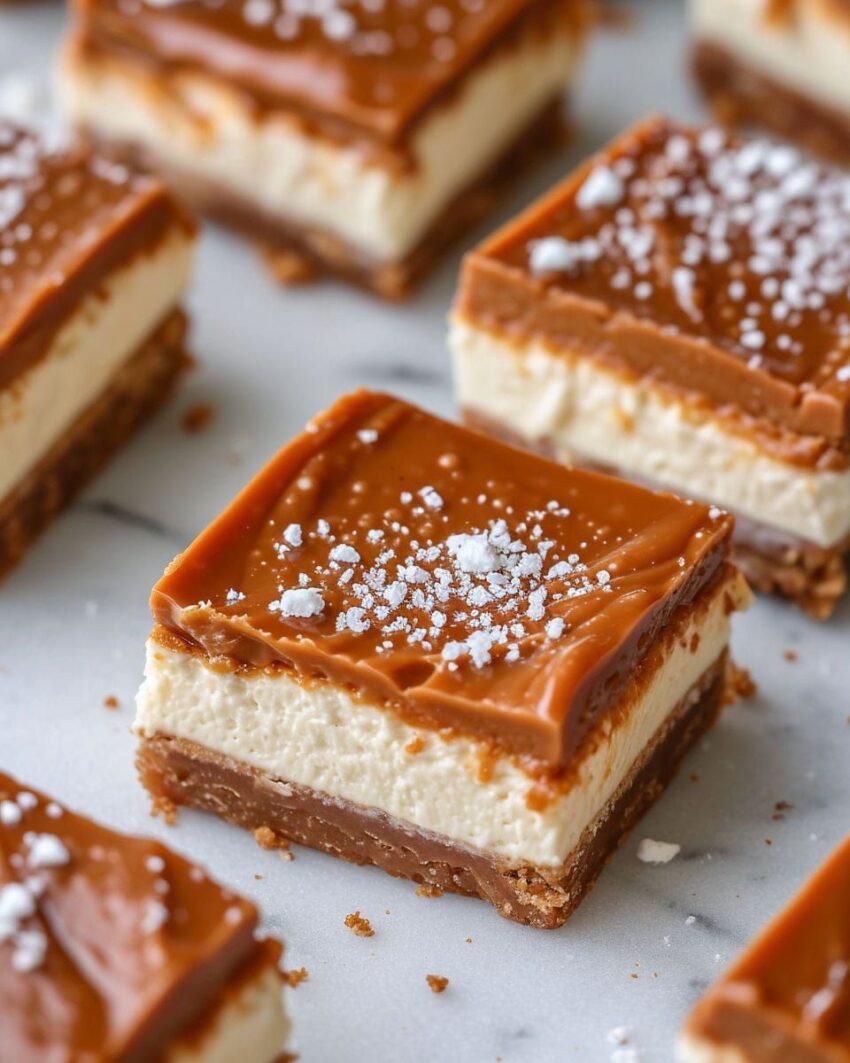
Here’s a mouthwatering recipe for Salted Caramel Cheesecake Bars that combines a rich, creamy cheesecake layer with a sweet and salty caramel topping. These bars are sure to impress!
Ingredients:
For the Crust:
-
1 1/2 cups graham cracker crumbs
-
1/4 cup granulated sugar
-
1/2 cup unsalted butter (melted)
-
Pinch of salt (optional)
For the Cheesecake Layer:
-
3 (8 oz) packages cream cheese (softened)
-
1 cup granulated sugar
-
1 teaspoon vanilla extract
-
3 large eggs
-
1/2 cup sour cream (optional, for added creaminess)
-
2 tablespoons all-purpose flour (optional, to help set the cheesecake)
For the Salted Caramel Sauce:
-
1/2 cup unsalted butter
-
1 cup brown sugar (packed)
-
1/2 cup heavy cream
-
1 teaspoon vanilla extract
-
1/2 teaspoon salt (adjust to taste)
Instructions:
1. Make the Crust:
-
Preheat your oven to 325°F (160°C). Line a 9×13-inch baking pan with parchment paper or lightly grease it.
-
In a medium bowl, combine the graham cracker crumbs, sugar, melted butter, and a pinch of salt (if using). Stir until the crumbs are evenly coated with the butter.
-
Press the mixture firmly into the bottom of the prepared pan to form an even crust layer.
-
Bake for 8-10 minutes, or until the crust is lightly golden. Remove from the oven and set aside to cool.
2. Make the Cheesecake Filling:
-
In a large mixing bowl, beat the softened cream cheese with a hand mixer or stand mixer until smooth and creamy.
-
Add the sugar and vanilla extract, and continue to beat until well combined.
-
Add the eggs one at a time, beating well after each addition.
-
Stir in the sour cream (if using) and flour (if using) until smooth.
-
Pour the cheesecake mixture over the cooled crust, spreading it into an even layer.
3. Bake the Cheesecake:
-
Bake the cheesecake for 45-50 minutes, or until the center is set and slightly jiggles when you shake the pan.
-
Turn off the oven and leave the cheesecake in the oven for an additional hour (this helps prevent cracks). Afterward, remove it from the oven and let it cool completely at room temperature. Then refrigerate for at least 4 hours (or overnight) to allow it to fully set.
4. Make the Salted Caramel Sauce:
-
In a saucepan over medium heat, melt the butter.
-
Add the brown sugar and bring to a simmer, stirring constantly.
-
Slowly add the heavy cream, continuing to stir until the mixture is smooth and begins to thicken (about 3-4 minutes).
-
Stir in the vanilla extract and salt, then remove from heat. Let it cool slightly before using.
5. Assemble the Cheesecake Bars:
-
Once the cheesecake is fully chilled, drizzle the salted caramel sauce over the top, making sure to cover the surface evenly.
-
For extra flair, sprinkle a bit more salt on top of the caramel (optional, but enhances the flavor).
6. Cut and Serve:
-
Use a sharp knife to slice the cheesecake into bars. Clean the knife between cuts for neat slices.
-
Serve chilled and enjoy these decadent Salted Caramel Cheesecake Bars!
These bars have the perfect balance of creamy cheesecake, buttery graham cracker crust, and a deliciously sweet-and-salty caramel topping. They’re a guaranteed crowd-pleaser!
